We use cookies to make your experience better. To comply with the new e-Privacy directive, we need to ask for your consent to set the cookies. Learn more.

-

-
Installation Guide for Vistalux Corrugated PVC Sheets
April 03 2024 -
Installing Instructions for Trovidur EC Cladding Sheets
April 02 2024 -
Multiwall Polycarbonate Fitting Instructions
May 10 2023 -
Why Choose Acrylic Sheets?
February 05 2023 -
PVC Wall Panel Installation
August 31 2022 -
Marlon Clickloc Installation Guide
August 30 2022 -

Amari Plastics Launches Amari Sustainable
August 25 2022

Multiwall Polycarbonate Fitting Instructions
Post Date:
10May, 2023
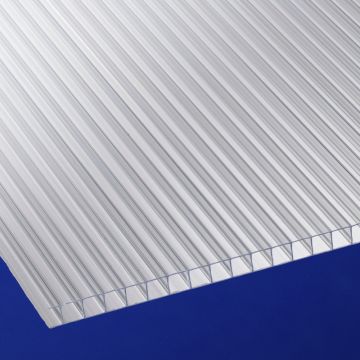
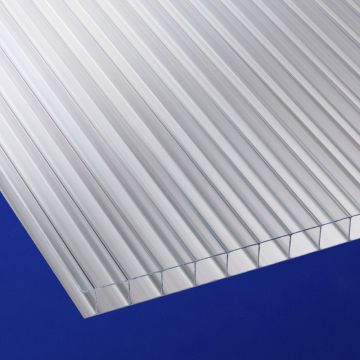
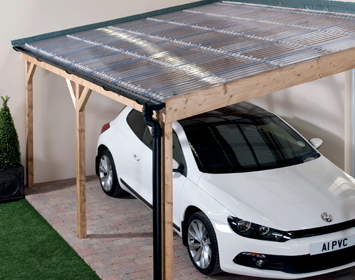
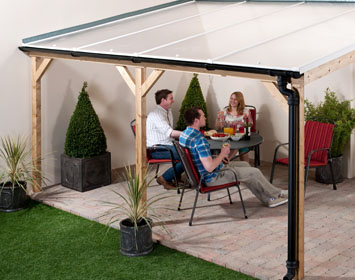
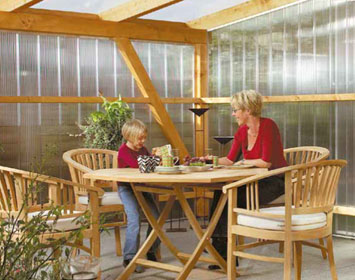
Multiwall polycarbonate roofing sheets have become a popular option for covering outdoor structures like patios, lean-to's, carports and greenhouses. They are lightweight, durable, and easy to install, making them an ideal choice for both DIY enthusiasts and professional contractors. We'll take you through the step-by-step process of how to install multiwall polycarbonate roof sheets.
Step 1: Gather the Necessary Materials and Tools
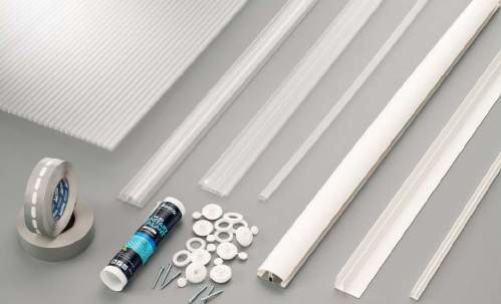
Before you begin, you'll need to gather all the necessary materials and tools. Here's a list of what you'll need when fitting a lean-to roof:
- • Multiwall polycarbonate sheets
- • Polycarbonate U and F profiles
- • Ventilation / Breather Tape
- • Sealing Tape
- • Neutral Silicone
- • Butyl flashing
- • Multiwall fixing buttons
- • Roofing Screws
- • Jigsaw or circular saw
- • Measuring tape
- • Marker
- • Safety goggles
- • Work gloves
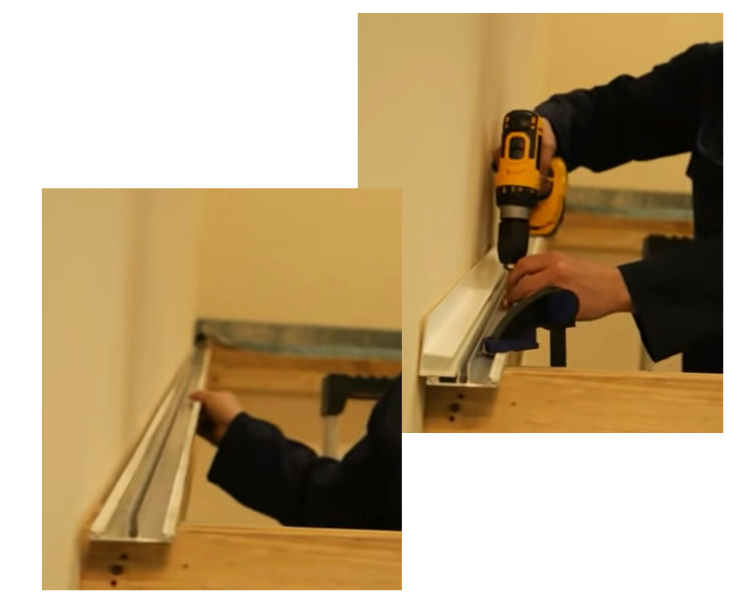
Step 2: Glazing bar Preparation
Glazing bars are installed on each of the rafters. Before installing the glazing bars, you will first need to insert the seals either side of the bar base. The use of silicone lubricant can make the installation of the seals easier. Install the seals and avoid stretching.
Installing on Rafters
You will need to pre-drill the glazing bar in preparation for fixing to the rafters - at approximately 400mm centers staggered on alternate sides. Our glazing bar system is based on a 40mm or 60mm rafter width. We would recommend the following distance between rafters.
- • 6mm multiwall polycarbonate sheets - distance between rafters, no more than 450mm
- • 8mm multiwall polycarbonate sheets - distance between rafters, no more than 600mm
- • 10mm multiwall polycarbonate sheets - distance between rafters, no more than 700mm
- • 16mm multiwall polycarbonate sheets - distance between rafters, no more than 1050mm
- • 25mm multiwall polycarbonate sheets - distance between rafters, no more than 1250mm
Installing on Purlins
Screw the bottom half of the glazing bar to every purlin. Ensure the purlin spacing is not greater than 1,500mm. Screws should be sealed in waterproof silicone sealant, wiping off any surplus after driving the screws. Use the ‘F profile’ upside down so that it forms an up stand which can be sealed to the wall with flashing tape.
Step 3: Sheet Preparation - Measure and Cut the Sheets
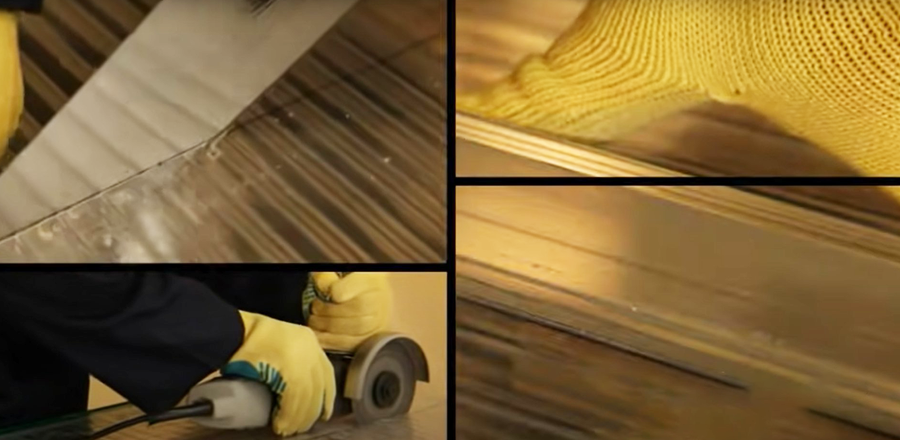
The first step in installing multiwall polycarbonate roof sheets is to measure and cut them to the appropriate size to suit your structure. Multiwall sheets can be easily cut to size and will not crack or shatter. Alternatively you can use our free cut to size service when ordering. When cutting yourself, please follow these steps:
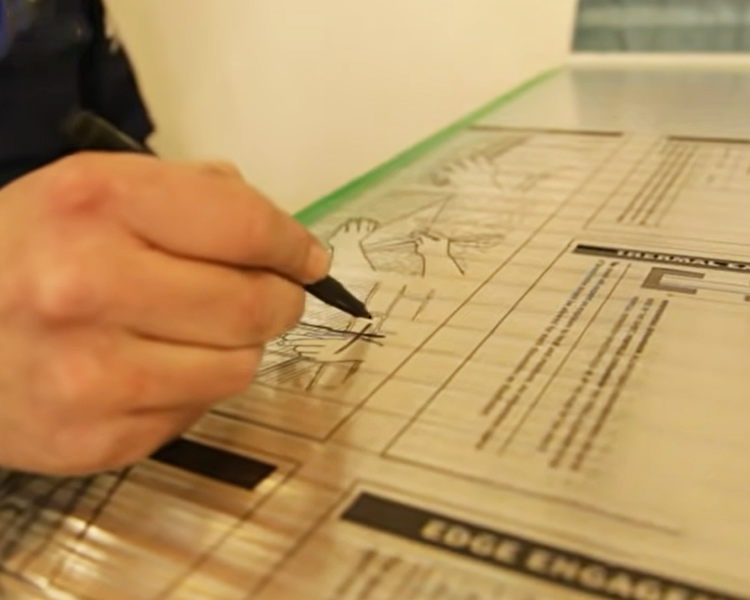
- • Measure the length and width of the area that you want to cover with the multiwall polycarbonate sheets.
- • Add a few inches to each measurement to allow for overhang and trimming.
- • Using a marker, mark the measurements onto the sheets.
- • Using a jigsaw or circular saw, carefully cut along the marked lines.
It is important to get your dimensions correct from the outset. This will save a lot of time when it comes to installing the sheet. Keep your measurement in millimetres and be as accurate as possible. Allow a 12mm to 15mm gap between the sheets on a jointing rafter. Any swarf from cutting or drilling should be removed by vacuuming. Next peel back the protective film from all edges of the multiwall sheet on both sides Fix the sealing tape at the top end of each piece of sheet and the perforated breather tape at the bottom making sure tapes are not creased or torn.
Step 4: Install the End Caps (U Profile) and Side Profiles (F Profile)
Begin the project by installing the flashing tape to provide a watertight seal between the wall and roof. Next, you'll need to install the end caps and profiles to the edges of the roof. Here's how:
- • Cut the polycarbonate end caps and profiles to the appropriate size.
- • Slide the end caps onto the edges of the multiwall polycarbonate sheets.
- • Attach the profiles to the end caps using roofing screws and a screw gun.
Be sure to use enough screws to secure the end caps and profiles in place, but not so many that they cause the polycarbonate to crack. When applying the U Profile it does not go all the way in. There is a slight lip which should not be forced as this allows air to circulate within the sheet. The F Profile should fit flush with the outside rafter.
Step 5: Install the Sheets
Now that the end caps and profiles are in place, you can begin installing the multiwall polycarbonate sheets. Here's how:
- • Starting at one end of the roof, position the first sheet onto the end caps and profiles.
- • Use roofing screws and a screw gun to attach the sheet to the end caps and profiles.
- • Repeat this process with the remaining sheets, ensuring that each sheet overlaps the previous one by at least a few inches.
Step 6: Finish the Installation
Finally, you'll need to finish the installation by trimming the edges of the multiwall polycarbonate sheets and securing any loose screws. Here's how:
- • Use a jigsaw or circular saw to trim the edges of the sheets to the appropriate size.
- • Check all of the screws to make sure they are tight and secure.
- • Install any necessary flashing or trim to complete the installation.
Installation Guidelines
Storage & Sheet Preparation
- • Store sheets on a flat surface. Use an opaque cover, tightly secured, to protect from wind, rain and sun.
- • Storage is always preferable indoors
- • Ensure that the clearly marked UV protected surface of the Marlon ST sheet is to the outside.
- • Marlon ST sheets must always be installed with the ribs running vertically, or up-slope.
- • Roofs should always be designed with a minimum slope of 5° to allow adequate rainwater run-off.
- • Marlon ST sheet can be cut with a fine tooth circular saw or hand saw at a shallow angle.
- • Use aluminium sealing tape at the top of the sheet to prevent ingress of moisture, dust and insects.
- • Use breather tape at the bottom end of the sheet to minimise condensation and prevent dust or insects entering the sheet.
Accessories
It is recommended that the ends of the multiwall polycarbonate sheets are sealed to minimise the build-up of moisture or dust contamination within the channels. A sealing tape, preferably aluminium, is applied at the top of the sheet to prevent ingress of moisture, dust and insects. A breather tape applied to the bottom end of the sheet permits air to move freely in and out of the sheet, helping minimise condensation.
Thermal Movement
IMPORTANT
Polycarbonate sheet will expand in the heat and contract in the cold. Sufficient allowance for thermal movement must be made in all:
- • Glazing bars
- • Side and end closures
- • Fixing holes
In practical terms it is necessary to allow 3.5mm per linear metre between the top edge of the panel and the glazing profile. Do not fix or clamp sheets too tightly. Leave room for thermal movement
Drilling & Fixing
When drilling fixing holes they must be oversized (18mm) to allow the sheet to move.
- Drill between ribs and at least 40mm from the edge of the sheet.
- Fixings must not be overtightened, again this allows the natural movement of the sheet and will avoid unnecessary damage to the sheet.
Finishing
Cover breather tape with a ‘U’ profile sealed to the top face of the sheet with a small silicone bead.
- • Use a low-modulus neutral silicone as an all-purpose silicone will cause polycarbonates to crack and disintegrate.
- • Ensure all film is completely removed immediately after installation.
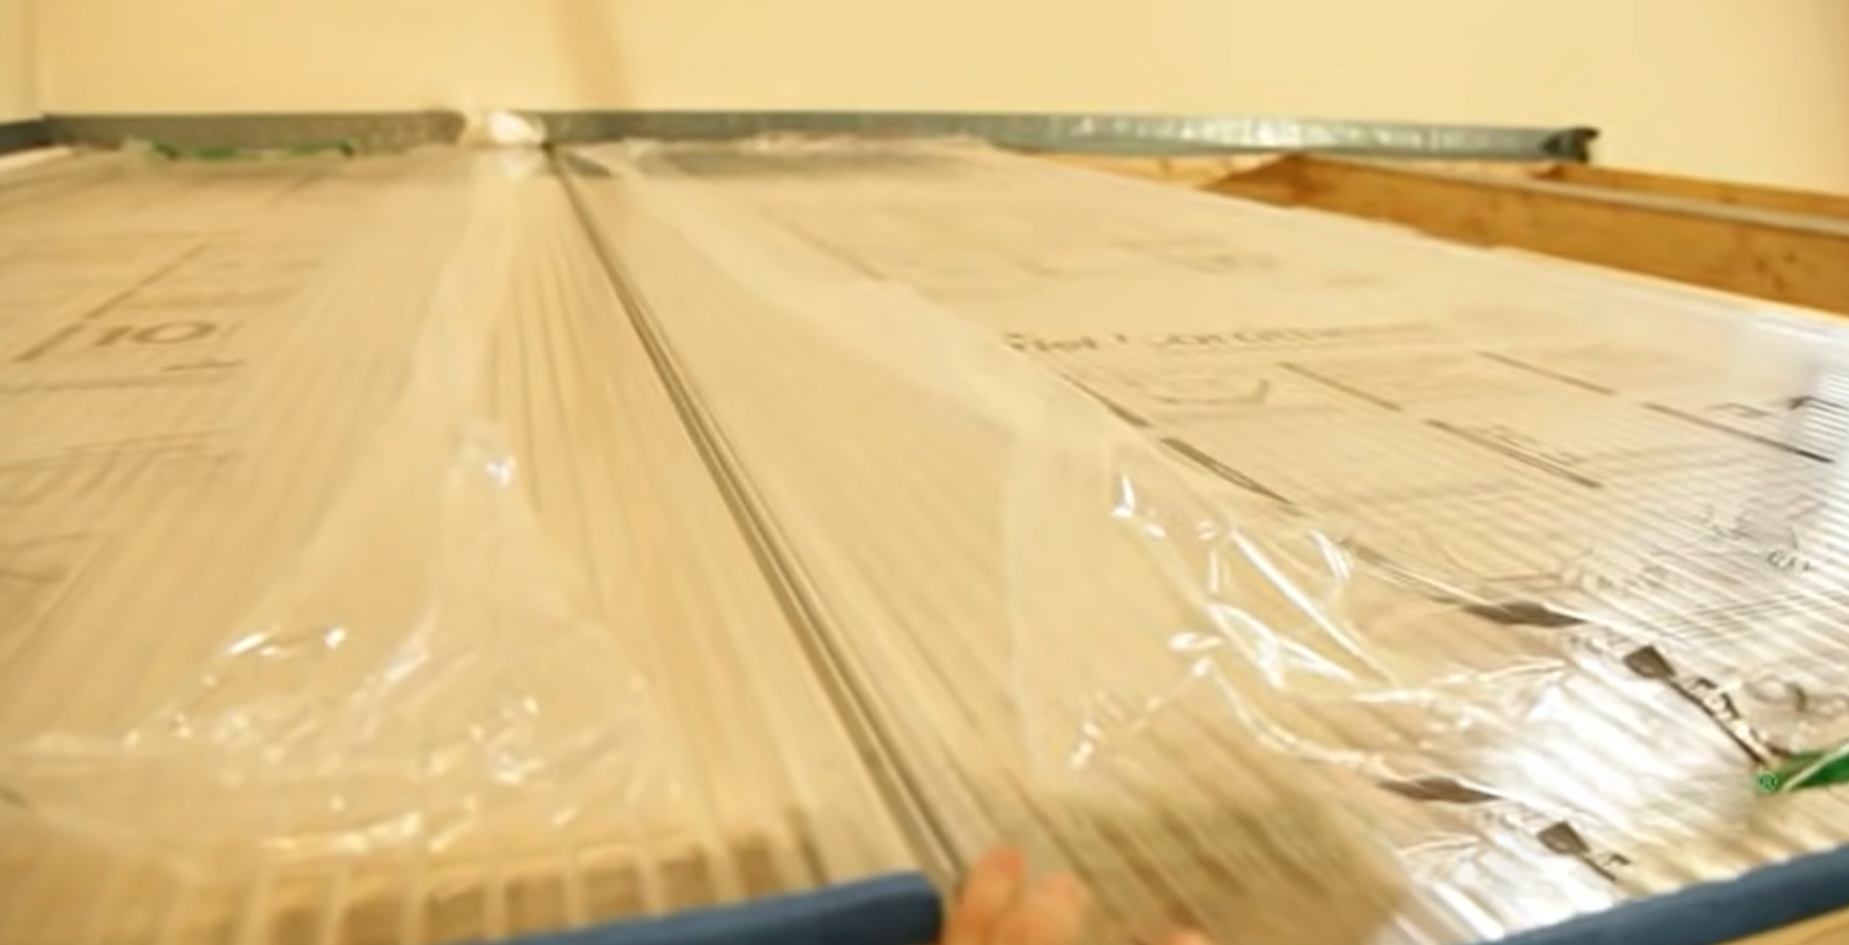
Film Removal
The UV protected surface of the multiwall sheet is covered at manufacture with a branded film. A further plain film is applied to the inner surface. To install, the films should be peeled back about 50mm to allow clean sheet insertion into the glazing system and application of end tapes and closure. Ensure all film is completely removed after installation is complete.
Cleaning Multiwall Polycarbonate Sheets
As a condition of ensuring that Marlon ST sheets perform at optimum throughout their service life, it is recommended that the sheets be cleaned periodically using suitable household cleaning agents as follows:
- • Use lukewarm water to rinse the sheet and soften dirt.
- • Make up a solution of lukewarm water and ordinary household cleaner or a mild soap and use this to wash the sheet.
- • A sponge or soft cloth should then be used to gently remove dirt and grime.
- • The cleaning process should then be repeated and the sheet rinsed and dried with a soft cloth.
- • For larger areas clean the surface with a high-pressure water cleaner.
Care should be taken to observe the following precautions:
- - Do not scrub Marlon ST sheet with brushes or sharp instruments.
- - Avoid any abrasives or cleaners of a highly alkaline composition.
- - It is generally advisable in all instances to test any cleaner on a sample piece of the Marlon ST sheet first and it should also be remembered that cleaners and solvents which state that they are suitable for cleaning polycarbonate may not be safe for use on the UV protective surface of the sheet.
Related Products