We use cookies to make your experience better. To comply with the new e-Privacy directive, we need to ask for your consent to set the cookies. Learn more.

-

-
Installation Guide for Vistalux Corrugated PVC Sheets
April 03 2024 -
Installing Instructions for Trovidur EC Cladding Sheets
April 02 2024 -
Multiwall Polycarbonate Fitting Instructions
May 10 2023 -

Why Choose Acrylic Sheets?
February 05 2023 -
PVC Wall Panel Installation
August 31 2022 -
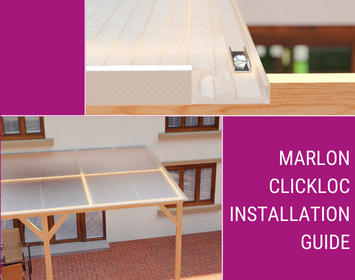
Marlon Clickloc Installation Guide
August 30 2022 -

Amari Plastics Launches Amari Sustainable
August 25 2022
Installing Instructions for Trovidur EC Cladding Sheets
Post Date:
02Apr, 2024
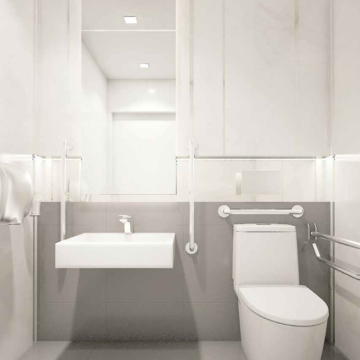
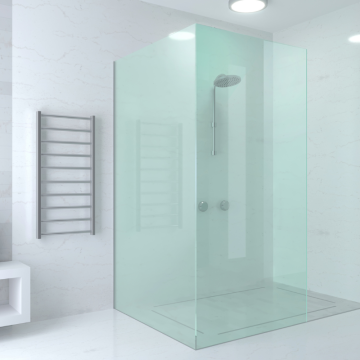
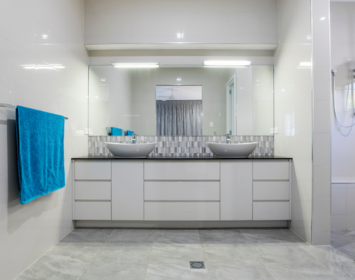
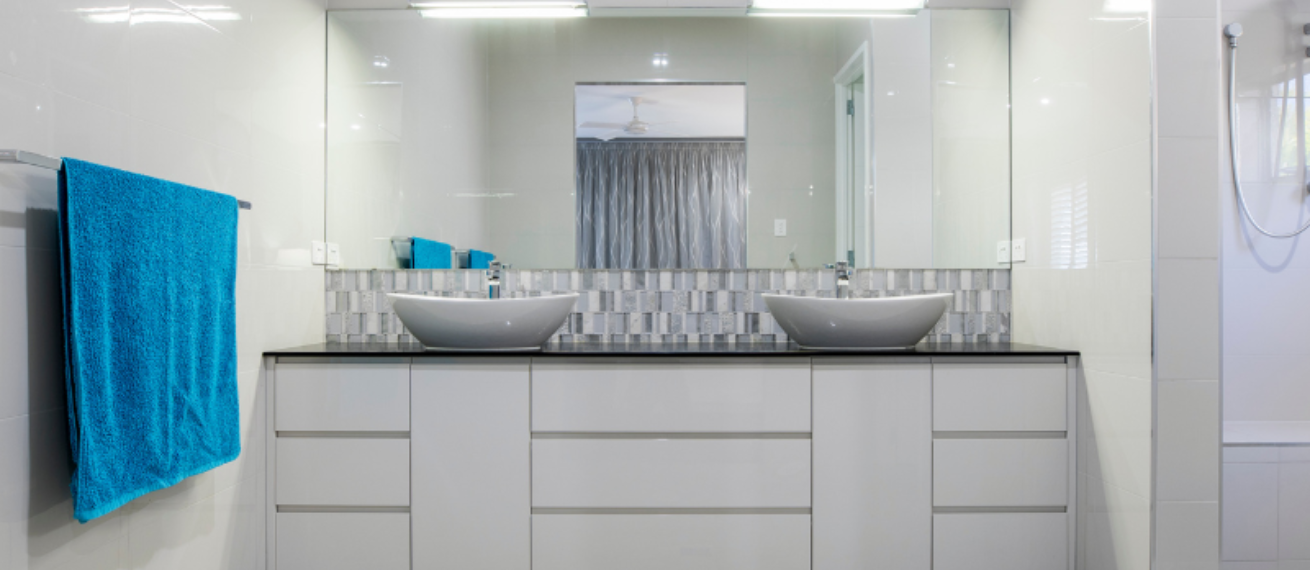
PVC cladding sheets have become a popular choice for various applications due to their durability, ease of installation, and low maintenance requirements. Whether you're upgrading your bathroom, renovating a commercial kitchen, or enhancing your animal housing, knowing how to install PVC cladding sheets correctly is essential for achieving a professional finish. In this detailed guide, we'll walk you through each step of the installation process, providing valuable tips and insights along the way.
Step 1: Preparation for Success
Before diving into the installation process, thorough preparation is crucial. Start by gathering all the necessary materials and tools:
- • PVC cladding sheets
- • J-sections or H-sections (depending on preference)
- • Adhesive (Polyurethane recommended)
- • Silicone sealant
- • Screws
- • Drill
- • Craft knife or saw
- • Screwdriver
Once you have all the materials on hand, prepare the surface where you'll be installing the PVC cladding sheets. Ensure that the walls or ceiling are smooth, level, dry, clean, and free from dust. Any electrical or plumbing work should be completed beforehand to avoid complications during installation. Take precise measurements of the installation area, and consider starting at an internal corner for ease of installation.
Step 2: Acclimate the Cladding Sheets
To prevent distortion during installation, it's essential to acclimate the PVC cladding sheets to the installation environment. Allow the sheets to sit in the installation area for at least 24 hours, ensuring that they adjust to the temperature and humidity of the space.
Step 3: Installing the Framework
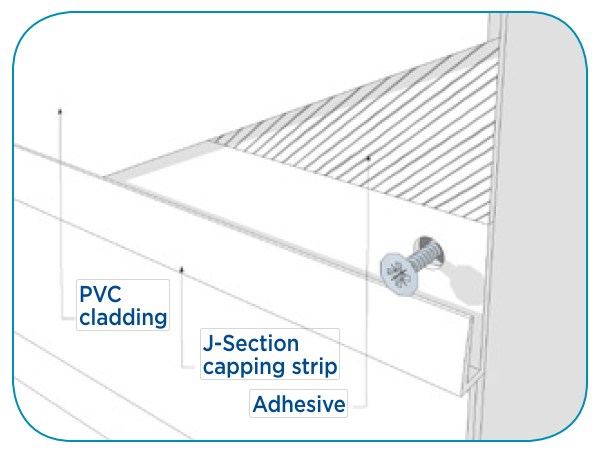
The framework provides support and structure for the PVC cladding sheets. Depending on your preference, you can use J-sections or H-sections. Start by framing the top and bottom edges of the sheets using the chosen sections. Secure the sections to the wall with screws, making sure to apply a bead of silicone underneath to create a watertight seal. The silicone seal is especially important at the base, where wet cleaning may occur.
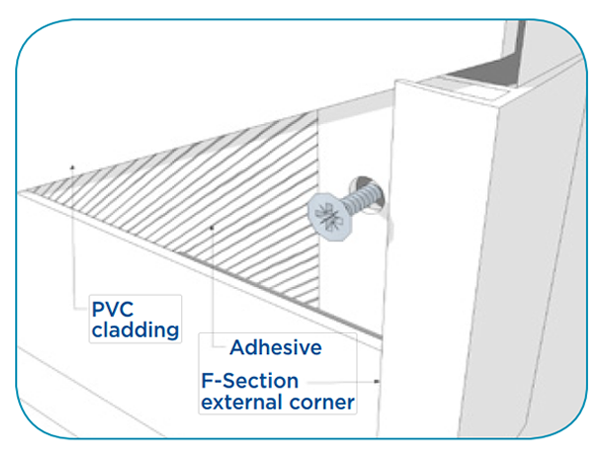
Step 4: Applying Adhesive
Before installing the PVC cladding sheets, apply Polyurethane adhesive to the back of each sheet. This adhesive helps bond the sheets securely to the wall, ensuring a long-lasting installation. Use a sufficient amount of adhesive, but avoid overapplication to prevent excess squeeze-out. One 300ml cartridge of PU adhesive per 8’ x 4’ sheet is typically sufficient.
Step 5: Dropping in the First Sheet
With the framework in place and adhesive applied, it's time to start installing the PVC cladding sheets. Begin by dropping the first sheet into the bottom J-section, ensuring that it fits snugly. Flex the sheet into the top J-section, leaving a small clearance inside the profiles to accommodate thermal expansion.
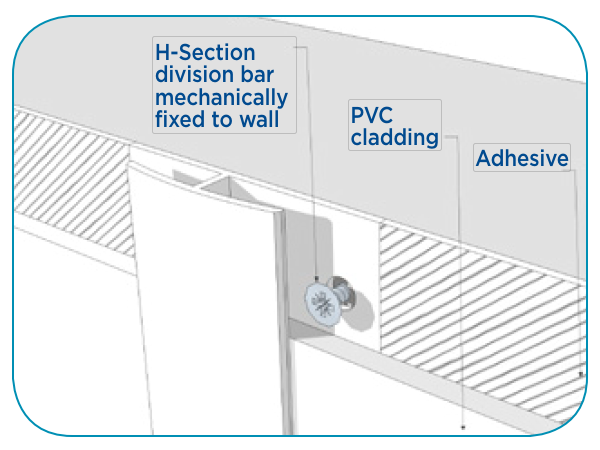
If using a one part H-Section, apply a bead of silicone to the inside of the profile, then slide the H-Section onto the sheet’s vertical edge. Leave a 2-3mm expansion gap inside the profile.
Step 6: Installing Additional Sheets
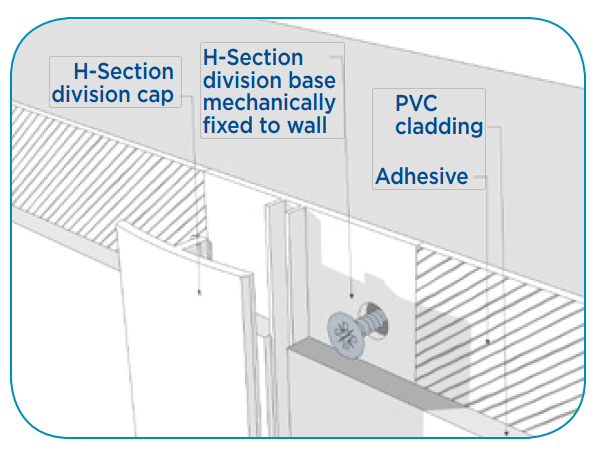
Continue the installation process by adding additional PVC cladding sheets. Drop each sheet into the bottom J-section, flex it into the top J-section, and slide it sideways to the H-section if using. If using a two part H-Section, apply a bead of silicone to the inside of the profile, then slide the H- Section base behind the sheet. Maintain a 2-3mm expansion gap inside the profile to allow for thermal movement. Continue with the next sheet along by dropping it into the bottom J-Section, flexing it into the top J-Section, and sliding the sheet sideways to the H-Section. Repeat until all sheets are in position.
Step 7: Securing the Sheets
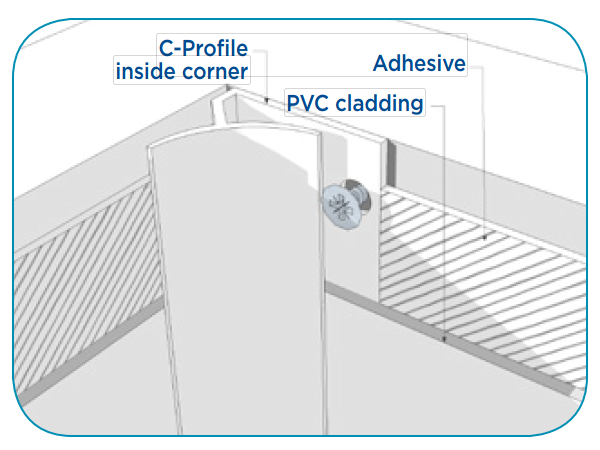
Once all the sheets are in position, secure them to the wall by screwing the H-section (if used) in place. Press the H-section top caps firmly to ensure a secure fit. Use Inside Corner C-Profiles and External Corner F-Profiles to neatly finish corners and angles, securing them with screws and sealant as needed.
Step 8: Cutting to Fit
If necessary, cut the PVC cladding sheets to fit using a craft knife or saw with a sharp blade designed for wood or plastic. Cutting at room temperature yields cleaner results, ensuring a precise fit for a professional finish.
Step 9: Post-Installation Cleaning
After completing the installation, remove any protective film from the PVC cladding sheets. Clean the surfaces using anti-static cleaner or warm soapy water and soft cloths or wipes. Avoid using abrasives or squeegees, as they may damage the surface. Pressure cleaning systems can be used at a minimum distance of 600mm (2ft) from the wall surface, ensuring that the water is warm, not hot.
Step 10: Enjoy Your Newly Clad Space
Congratulations! You've successfully installed PVC cladding sheets, transforming your space with durability and aesthetic appeal. Sit back, relax, and enjoy the benefits of your newly clad walls or ceiling.
Conclusion: Mastering the art of PVC cladding sheet installation is achievable with careful planning, attention to detail, and the right tools and materials. By following the step-by-step guide outlined above, you can achieve a professional finish that enhances the appearance and functionality of any space. Whether you're a DIY enthusiast or a seasoned professional, these tips and insights will help you tackle your next cladding project with confidence. Happy cladding!
Related Products